In recent years, technology in Kenya has enabled the country to become known and open on the global stage. For many of us who are freelancers and enjoy the comfort of working remotely, Payoneer isn’t a new term when it comes to payment methods. It’s a payment service provider best suited for freelancers and businesses as it provides many financial services to your needs, including online money transfers, marketplace payments, and mass payouts.
While there are many payment methods in Kenya, Payoneer has stood the test of time and is reasonably known for international transfers due to its low charges and no limits compared to a known provider like Paypal. Moreover, many people know how to create an account on Payoneer, but one issue that most face is not knowing how to verify Payoneer accounts. Well, it is an easy process so long as you have the eligible documents, but if you don’t know how to go about it, this guide will walk you through all that you need to know about Payoner in Kenya in 2025.
What is Payoneer?
By now, it is clear that Payoneer is an online payment service provider focused on cross-border payments. With Payoneer, you can easily send and receive money from one country to another without opening new bank accounts or currency conversions, as the service does it all for you.
It was founded by Yuval Tal in 2005 and is currently headquartered in New York, United States of America. However, it also has physical offices in three countries: Israel, Ukraine, Ireland, and the Philippines. Payoneer services reach more than 190 countries today, and you can transact in over 70 currencies.
How to Register for Payoneer in Kenya
Getting a Payoneer account in Kenya is as easy as A, B, and C, so long as you are 18 years of age, have a device that can access the internet, and own a Bank account, you are eligible for registration. Below is a step-by-step guide on how to create an account:
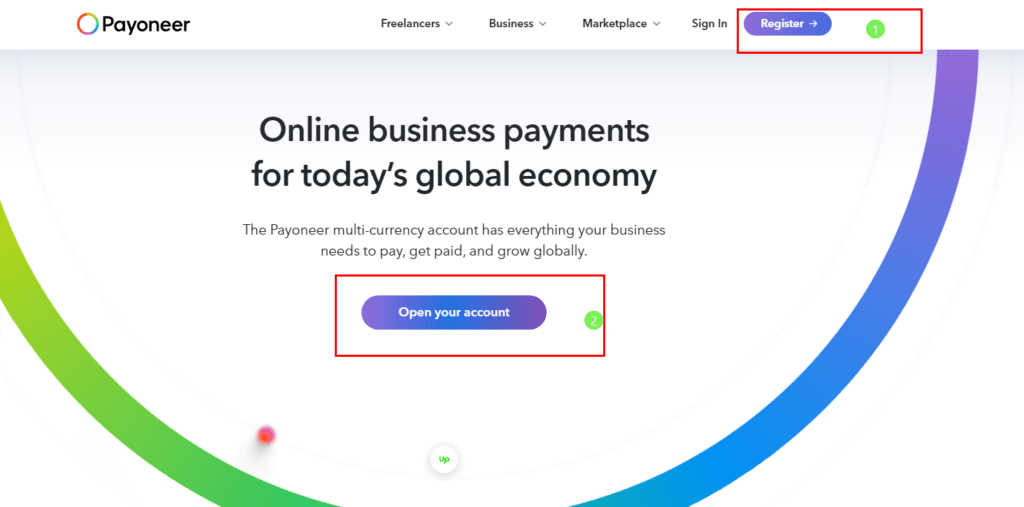
Step 1: Visit the Payoneer Website
Visit the official Payoneer website using the address https://www.payoneer.com/. Imeedialdelt, you are on the home page at the top right of the navigation bar. Click the “Register button” to Proceed or “Open your Account.”
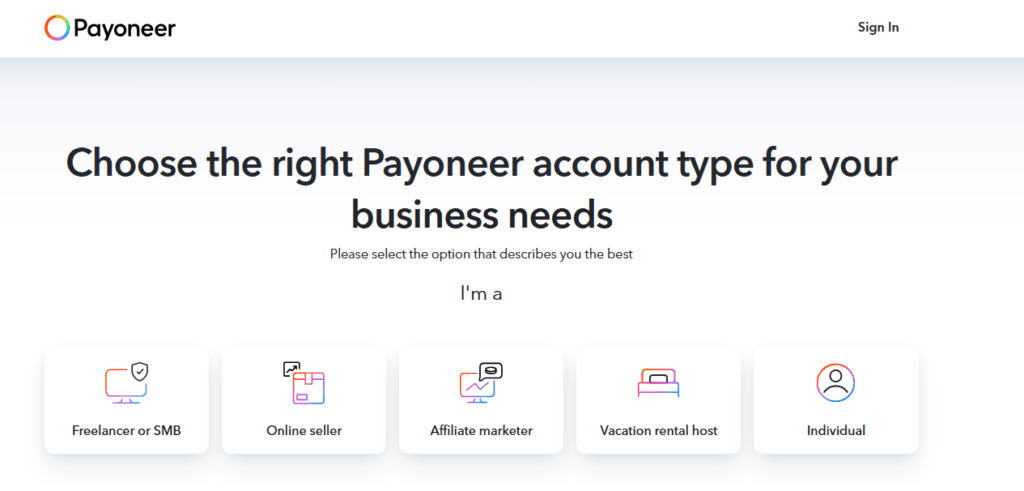
Step 2: Choose an Account Type
Next, you will need to select a suitable account to open. As of the writing of this article, Payoneer offers five account types based on your needs: Freelancer or SMB, Online seller, Affiliate marketer, Vacation rental host, and Individual. Select one that works for you. For the purpose of illustration, let us go with a Freelancer account.
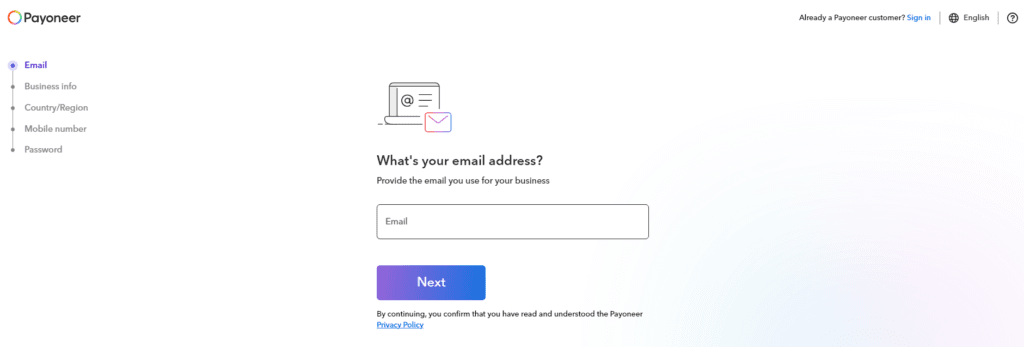
Step 2: Fill Out the Registration Form
Next, start filling out your account details. In this Stage, you must provide your Email, Business Info, Country or region, Mobile Number, and the password you will use to access your account. When filling out your Names, make sure they are the same as they appear on your National ID Card for easy verification. You will also be required to provide your email and phone number using an OTP Code, which will be sent to your number and email respectfully.
NOTE: During this stage, after you have verified your phone and email, you will be provided with a recovery code; save it, and don’t share it with anyone. You will use this code to regain access to your account in case you are locked out in the future or case of suspicious activity.
Once you complete these details and agree to the terms and conditions, click “Continue” to proceed.
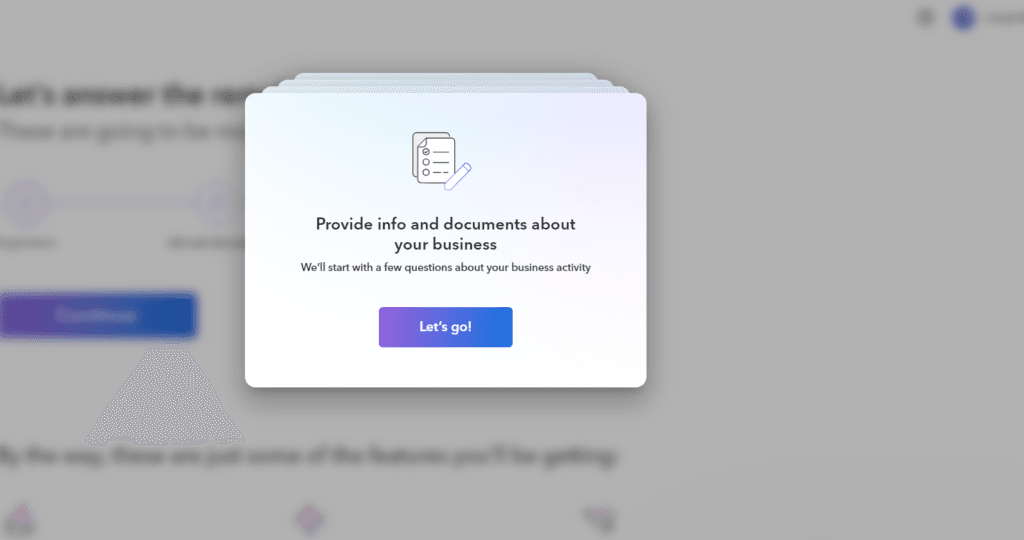
Step 3: Provide Business Information
Once registered, you will be redirected to a new Tab where you must provide your business information. Once you click on Let’s go, a question stacked in cards will be presented. Fill it out accurately in every step, and when done, continue and follow the next steps.
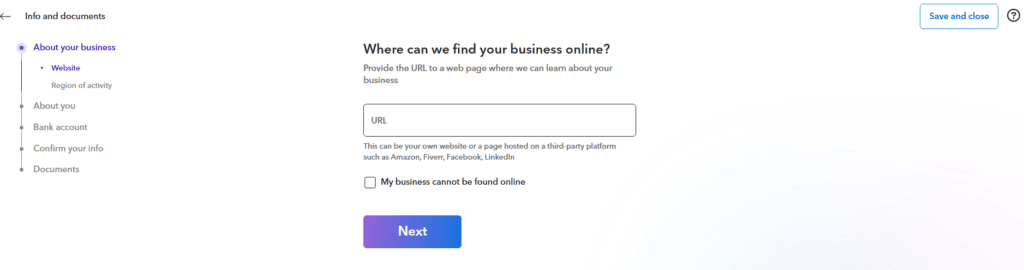
Step 3: Complete Identity Verification
The final steps include verifying your account and activating it so that you can send and receive payments. In this set, you must provide information about your business, i.e., URL, bio, and bank account, as well as upload documents such as your government ID, Driver’s License, or passport. When done, Payoneer will activate your account instantly; sometimes, it may take 2 business days to activate.
After the verification is complete, you will receive an email. If it is successful, you may be able to log in and carry out various Transactions.
How to Withdraw Money from Payoneer
When it comes to Payoneer Withdrawals, one question you have for us is whether it is possible to Withdraw from Payoneer to M-Pesa directly. The answer is a quick no, as the payment service currently only supports selected Banks in the country. M-Pesa could be an option if it supported Virtual cards ( M-Pesa Global Card ), but it does not.
The only way to withdraw from your Payoneer account requires a verified account, which entails linking your bank account and providing the necessary documentation. Below is the process for making withdrawals from Payoneer:
- Login to your account, go to “Withdraw & transfer,” and then navigate to “Withdraw to bank”
- Next, select the card and the currency balance from which you want to withdraw money.
- Continue to select your bank account and enter the amount you wish to withdraw. Once you do so, Paanoneer will automatically calculate the amount that you will receive in your Kenya current and show you the fees apüpliocable
- Next, Proceed to Enter the description of the amount you want to withdraw, what it is for, and where it has come from as your starting points, and Review your details
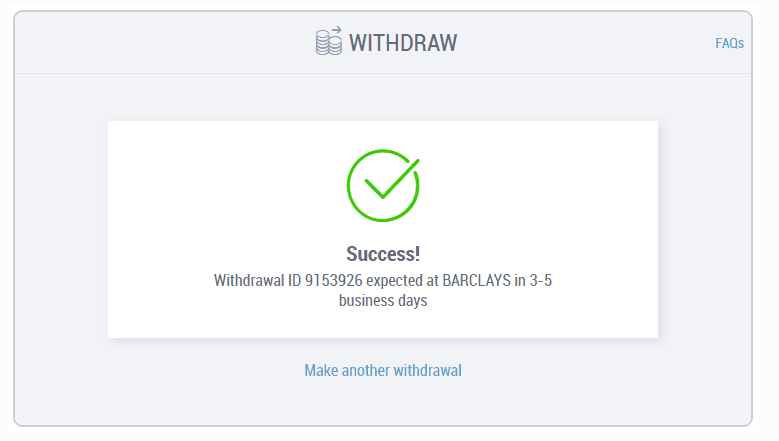
- Lastly, submit the withdrawal request and verify your identity using the code sent to your email or phone.
- After Completing the process you will receive a confirmation email containing your withdrawal information. It takes 2 to 3 Business days for the amount to reach your local bank account
NOTE: For withdrawal, Payoneer charges fees which vary depending on your account’s current. For example, as of 2025, they charge an Approximate fee of about $1.50 for USD withdrawals. You can check this page Page for Payoneer fees to learn more
Conclusion
Well, we hope the guide has helped you understand how to create and use a Payoneer account easily in Kenya. The process is relatively easy; all you need to do is verify your account to make it eligible for various Transactions. You will be required to upload various documents, including your National ID and utility Bill. If you have any questions about a Payoneer account, please let us know in the comment section below.